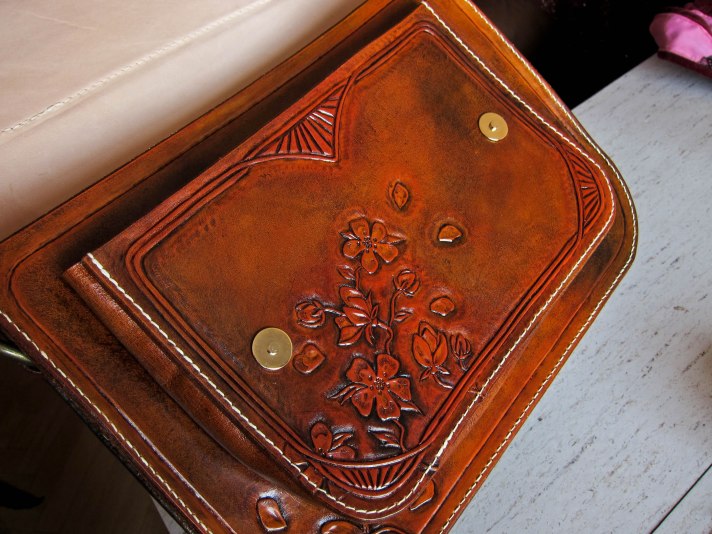
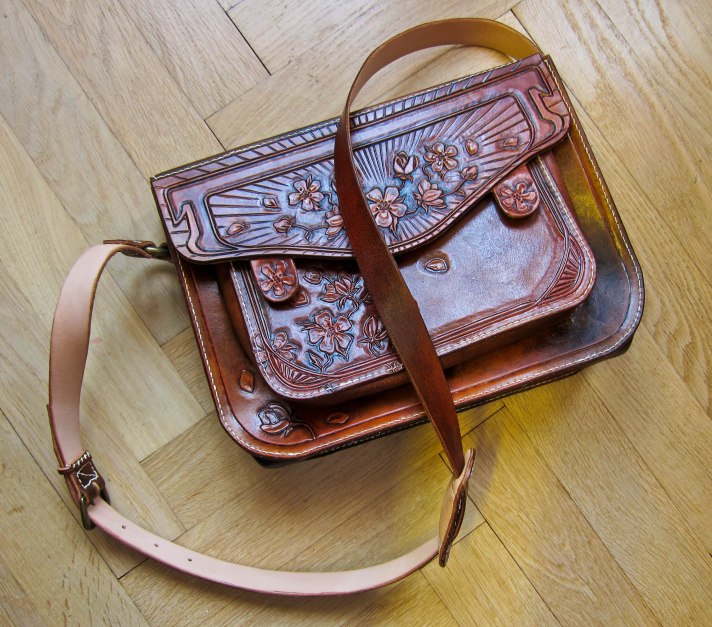
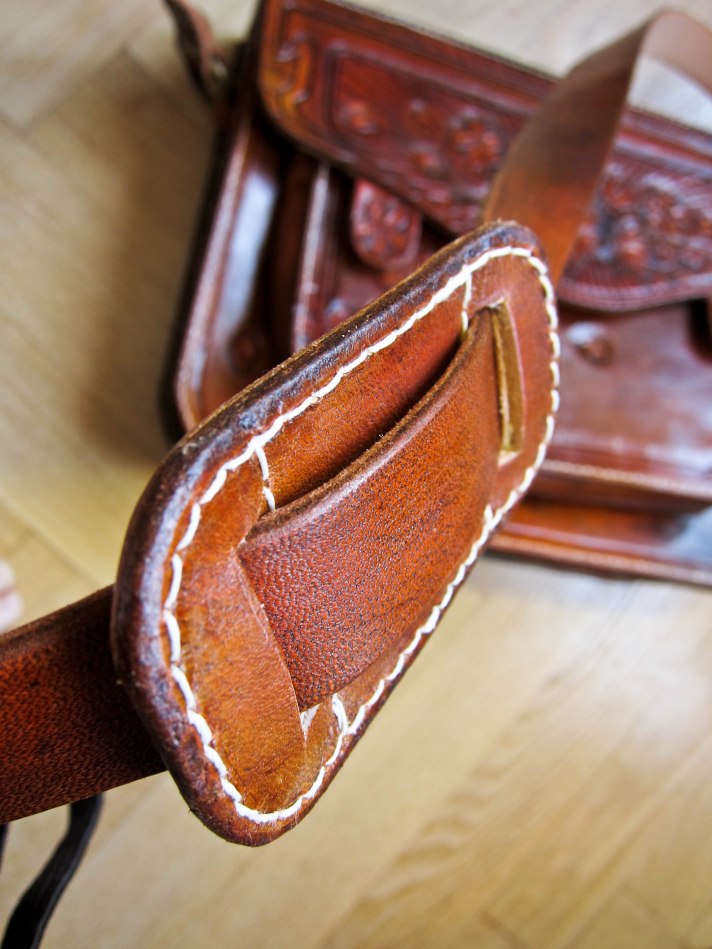
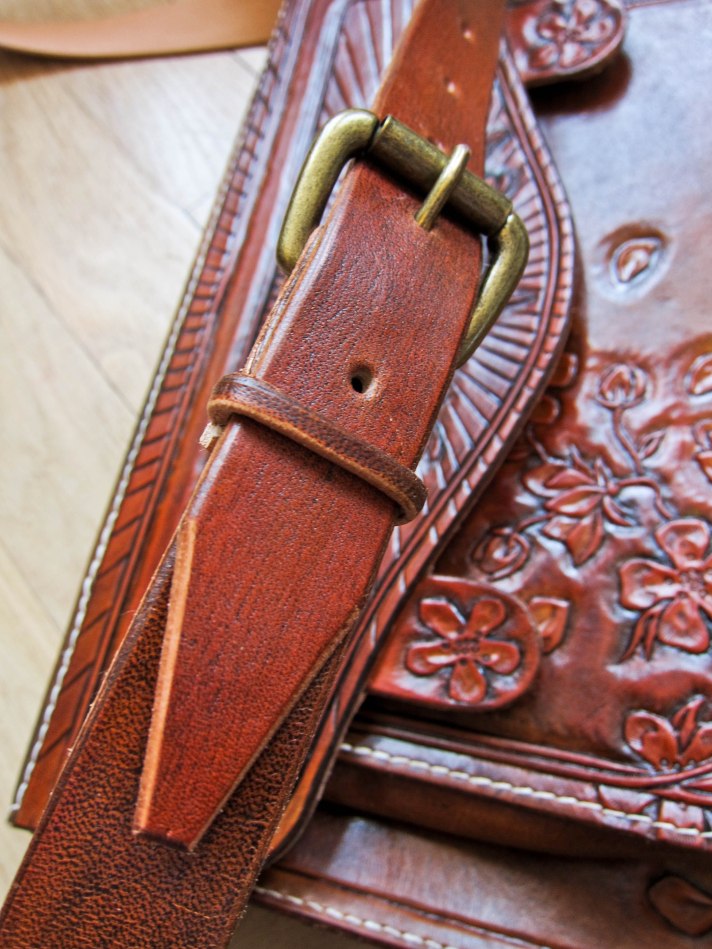
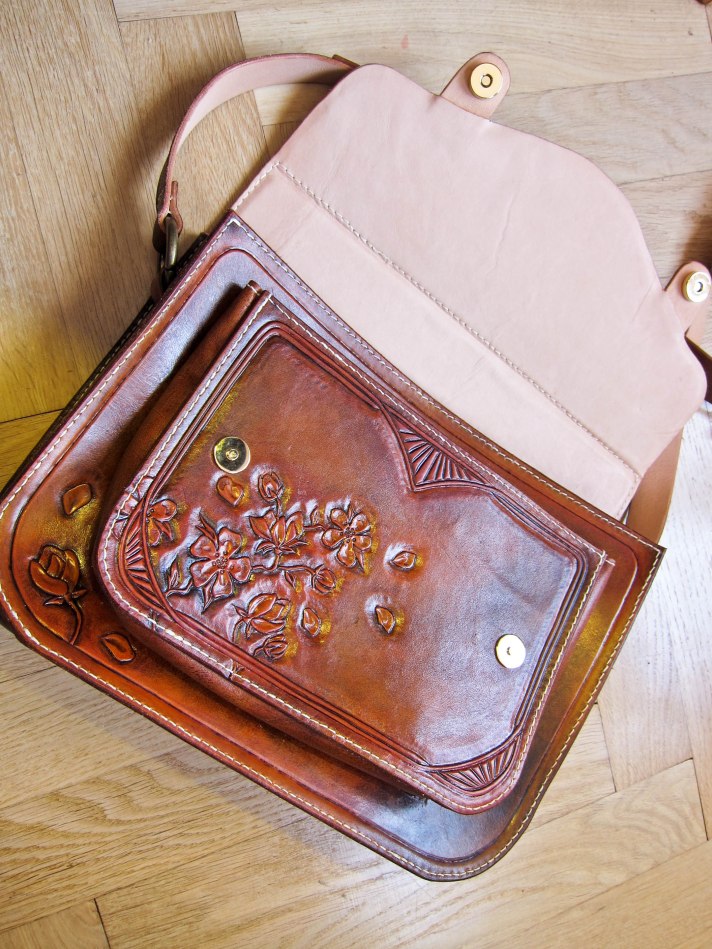
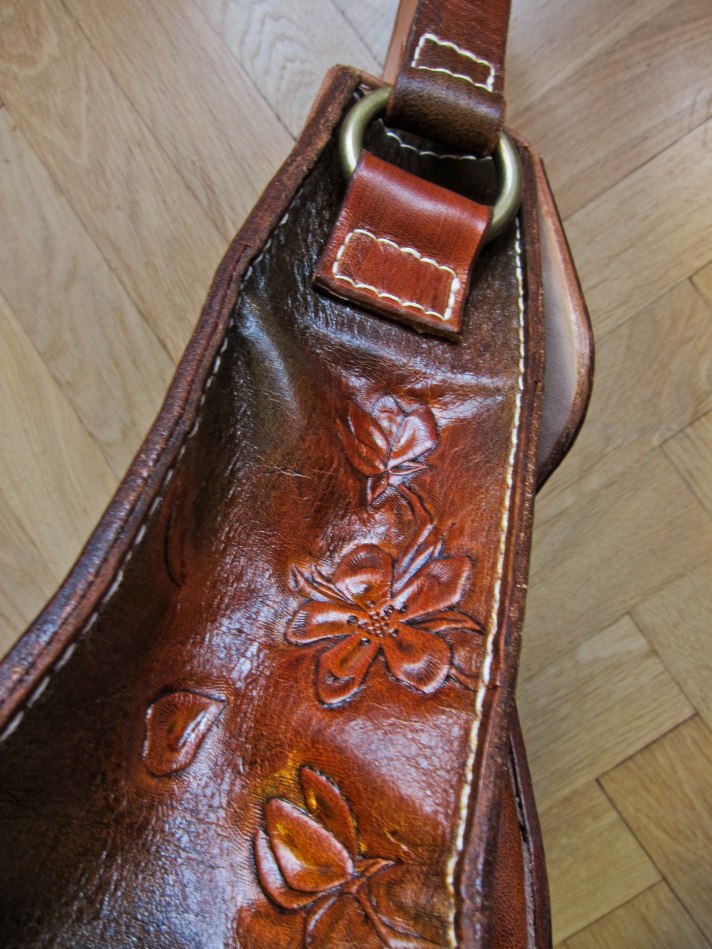
For some time (several years) I’ve been planning to make myself a bag! And now it’s done. And here it is.
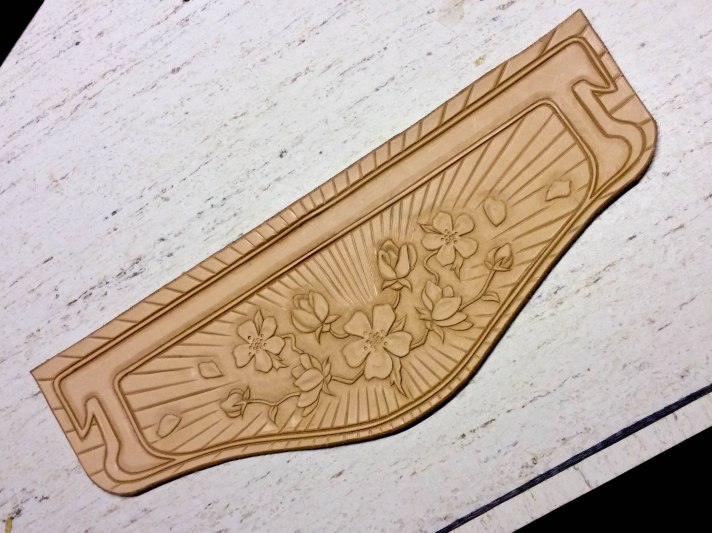
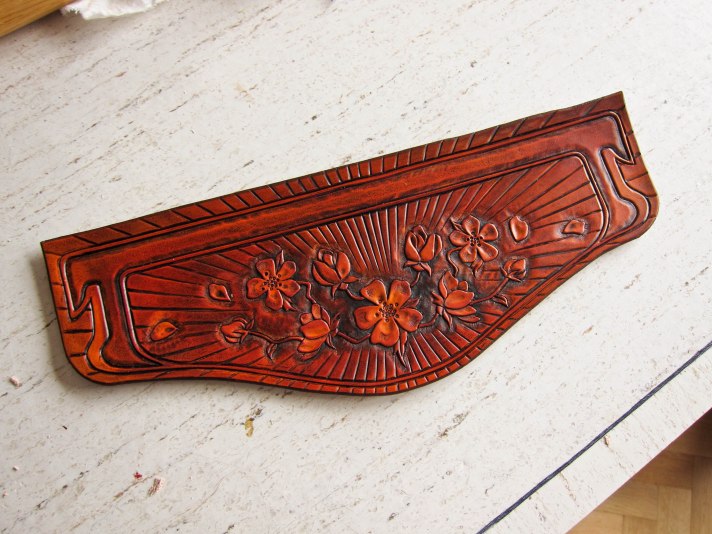
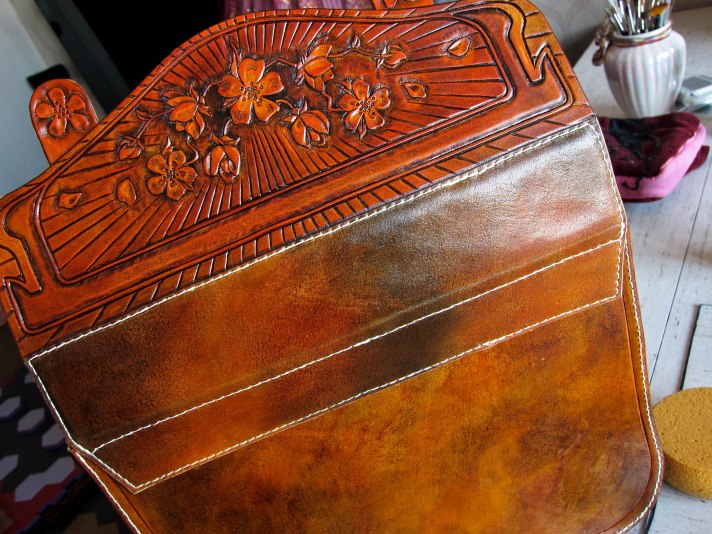
This bag is based on a piece of leather that got left from an old job. This was suppose to be the decoration at the top of a quiver. The shape of the leather piece and the floral work was done and I thought it was a shame to throw it in to oblivion. After all it could work for the top flap of a bag. So! I added the “frame” and the “rays” to give it more of an art deco feeling, and then it all began!
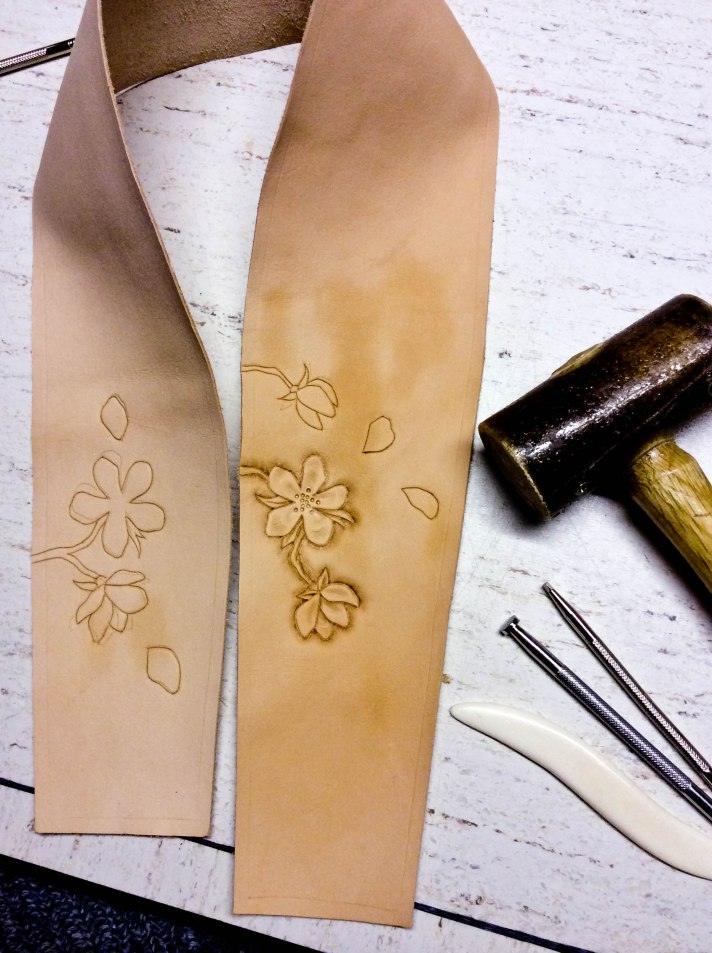
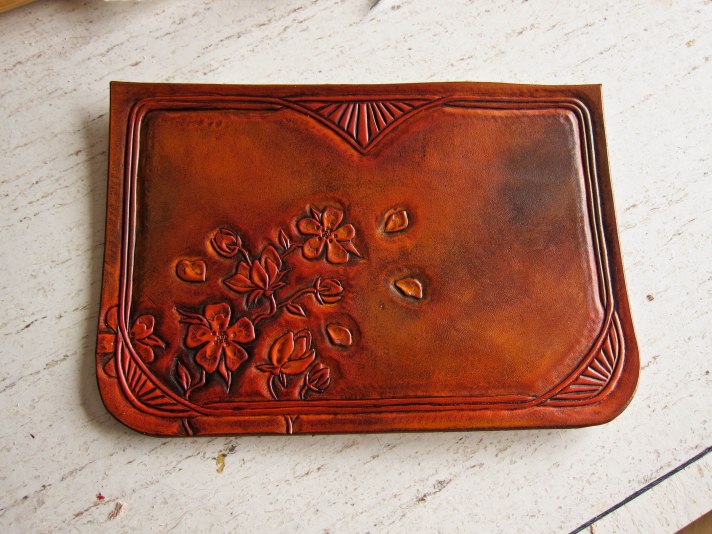
This is the side/bottom piece of the bag. It will be kind of like a bellow, and it to must have some decorations!
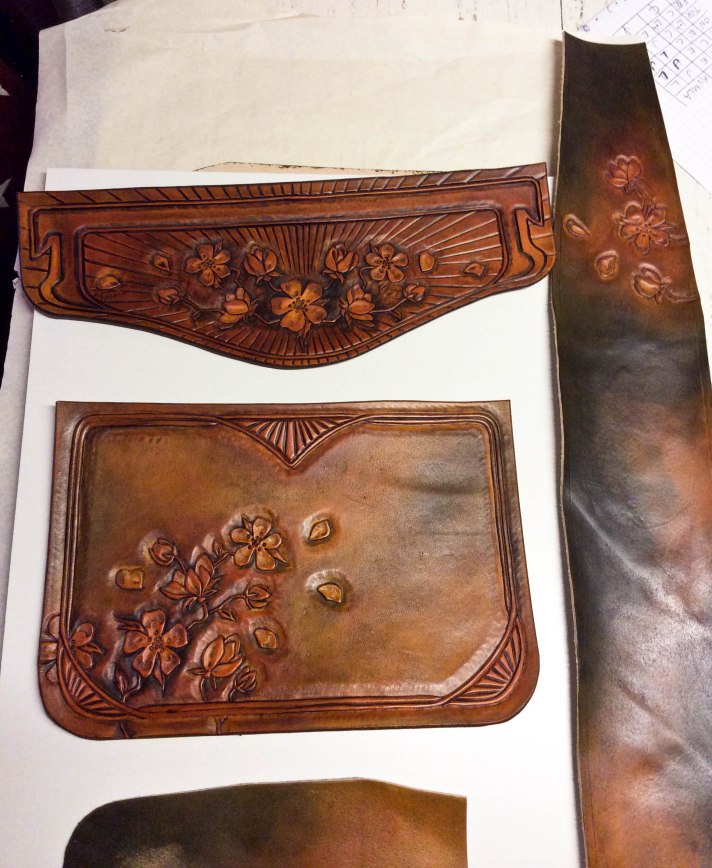
All the pieces are cut out and dyed. The middle piece is for a big pocket at the front. The dye I used is not a penetrating one, it’s an water based antique gel finish (witch means it lays on top of the leather) by Eco Flo. This is tricky though cause it will stain pretty bad if it gets water on it like rain… so I had to lock the finish with something that is acrylic based. I found a nice product from Fiebings called “Tan-kote” and it has a medium sheen to it.
What I did was to dye the pieces throughly 2 times with at least 24 h between. Then let another 24 h pass before I but on the Tan-kote with a big SOFT brush. I didn’t want to use a sponge or cloth and risk the antique finish to come off by the rubbing motion. I applied 2 thin coats of the Tan-kote as well, also with 24 h between. (I rather wait a little longer to be sure it really is dry than have unpleasant surprises)
Don’t worry if the Tan-kote seams to put itself in streaks, it will even out as it dries. But be sure to keep the coats thin. It’s better to make a third coat than to put on to much Tan-kote at once.
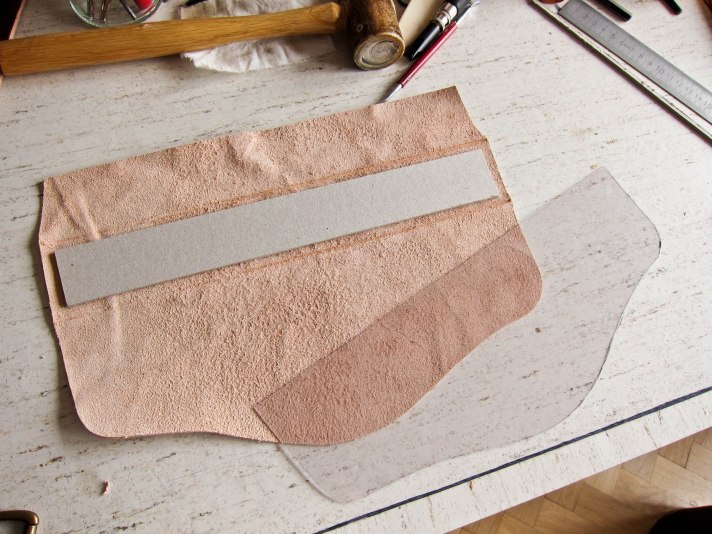
This is for the top flap where I will fasten the first piece. As I want this to be a sturdy bag that will hold on to it’s shape I chose to put a 3 mm cardboard piece and a 0,6 mm hard plastic in between the leather.
Here’s some better pics of the color. It’s much more orange than brown but not quite this red. The color I used is called “Saddle Tan” and as I said it’s an antique gel from Eco Flo.
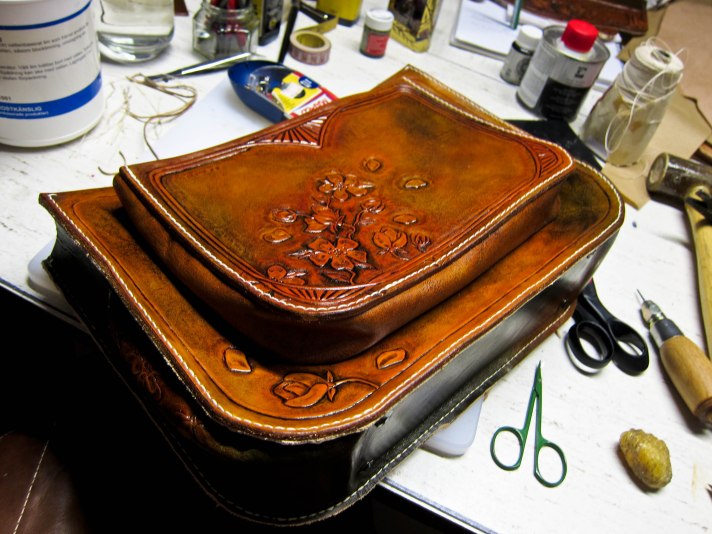
Sewing back and front to the side/bottom piece and the big pocket (that also has like a bellow) to the front. I’ve used 3-4 mm natural tanned ox-leather for front, back and pocket-front then I used ca 2 mm for the “bellows”.
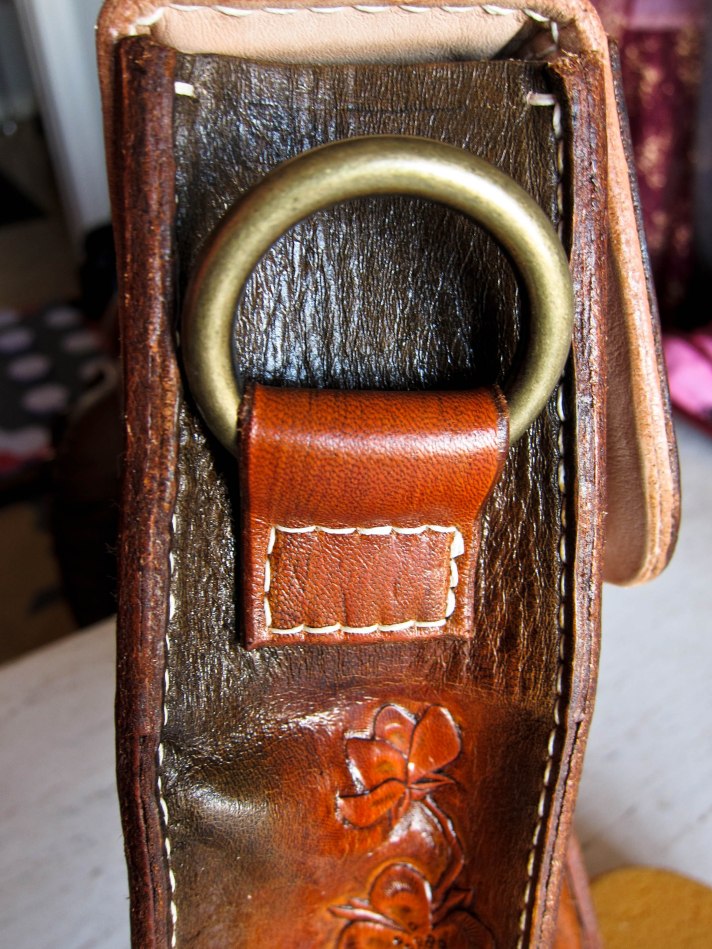
Because I have a thinner leather where the shoulder strap is going to be fastened I’ve strengthen that area with a 2-3 mm piece that is approx 5 x 8 cm. You can see it just above the flower at the side piece.
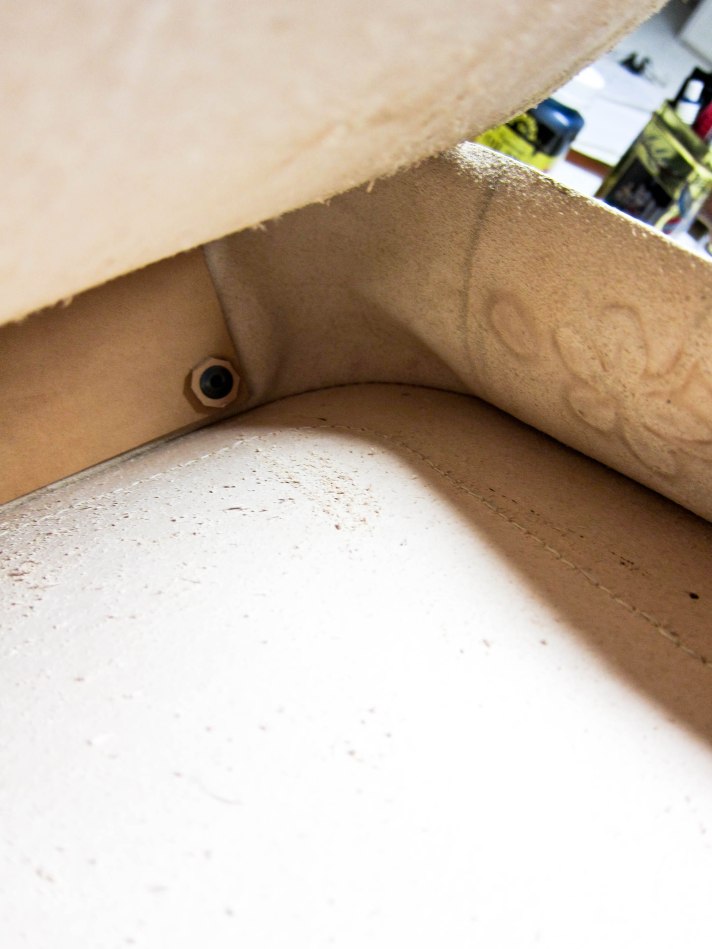
I also strengthen the bottom with a 4 mm piece. I glued it and then used a rivet in each corner that will act as one of those little metal foots some bags has ^^
For the shoulder strap.
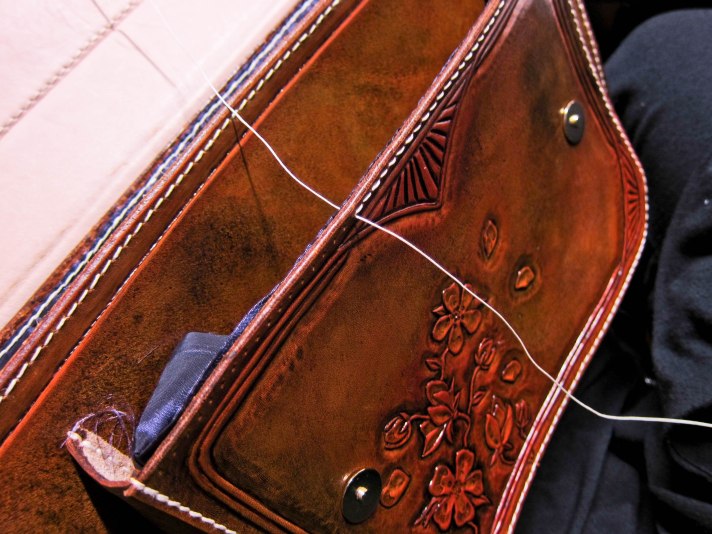
The top flap is on it’s place!
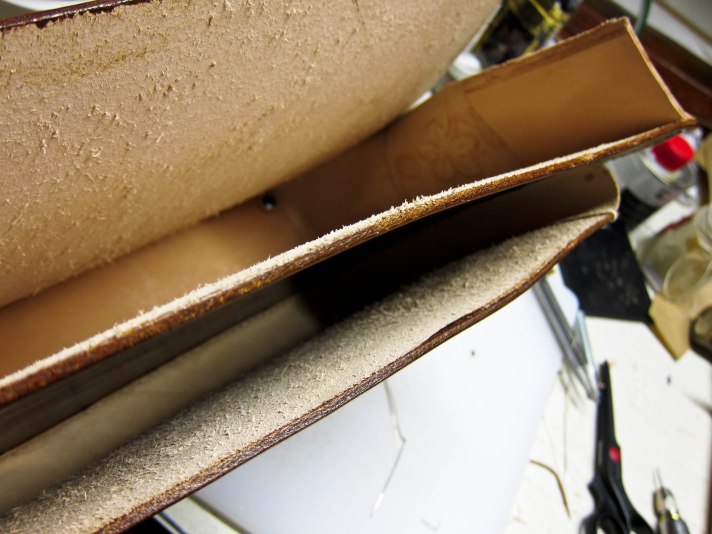
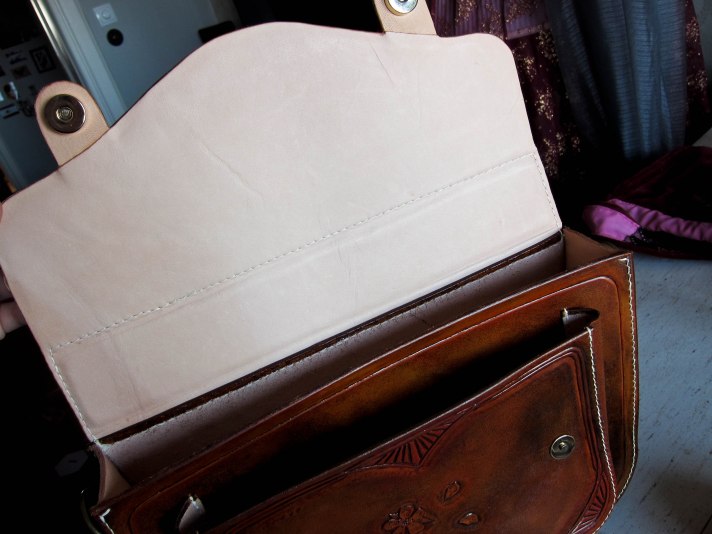
I lined the flap with a 1,5 mm reindeer skin.
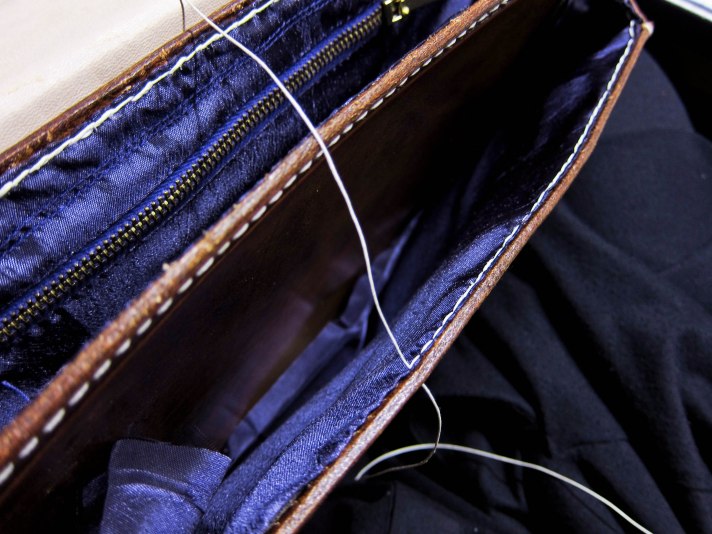
The rest of the bag is lined with a satin-ish purple fabric. Although next time I will fasten the lining as I sew the bag together. Don’t forget to make all desirable pockets in the lining first!
All done! I chose not to stitch the shoulder strap together. It’s made with two 2 mm pieces glued together with a strong book binding glue. I want to know how long it will last. Don’t dye the inner piece witch will lay on to your shoulder. IF the color will rub of on your clothes…well, I wouldn’t be so happy….
Think about how much leather you put in to your bag. The thicker, the heavier and then you also going to put your things in it to! I made a little shoulder pad to ease off the pressure on the shoulder. I’ve cut out a piece from a sponge and put inside of it!
Now I want to make another one!

